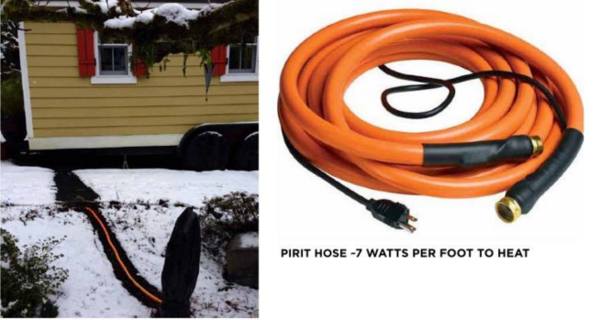
It’s not uncommon for the water pipes to freeze in a tiny house. In order to prevent that you need a plan to get fresh water to your tiny house. Tumbleweed Owners have first hand knowledge and experience and share their stories.
1. Fill Your Internal Water Tank
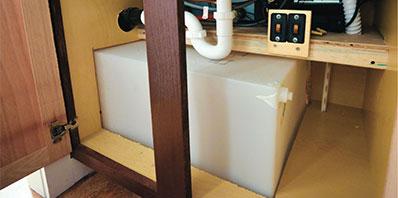
If you are interested in being off-grid, you’ve probably already planned on having an internal fresh water tank for your Tiny House RV. I’m referring to the tank as “internal” because it’s a good idea to store fresh water inside the insulated part of your Tumbleweed so that it doesn’t freeze in cold climates.
To fill your fresh water tank, you’ll use the water inlet located on the exterior of your Tiny House RV. To run fresh water to the inlet, you have two options:
Potable Water Hose
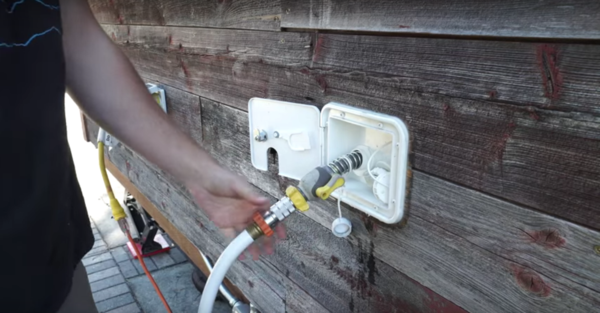
My potable water house with pressure regulator used to fill my 46 gal fresh water tank through my water inlet. With two people, we fill every 3-4 days during winter. More info here.
As long as there isn’t any still water left inside your potable water hose, it should not freeze when stored. That being said, it’s a good idea to store your hose in a warm, dry area (such as under your RV skirt in a closed container). Take it out when it’s time to fill your tank.
Fresh Water Jugs
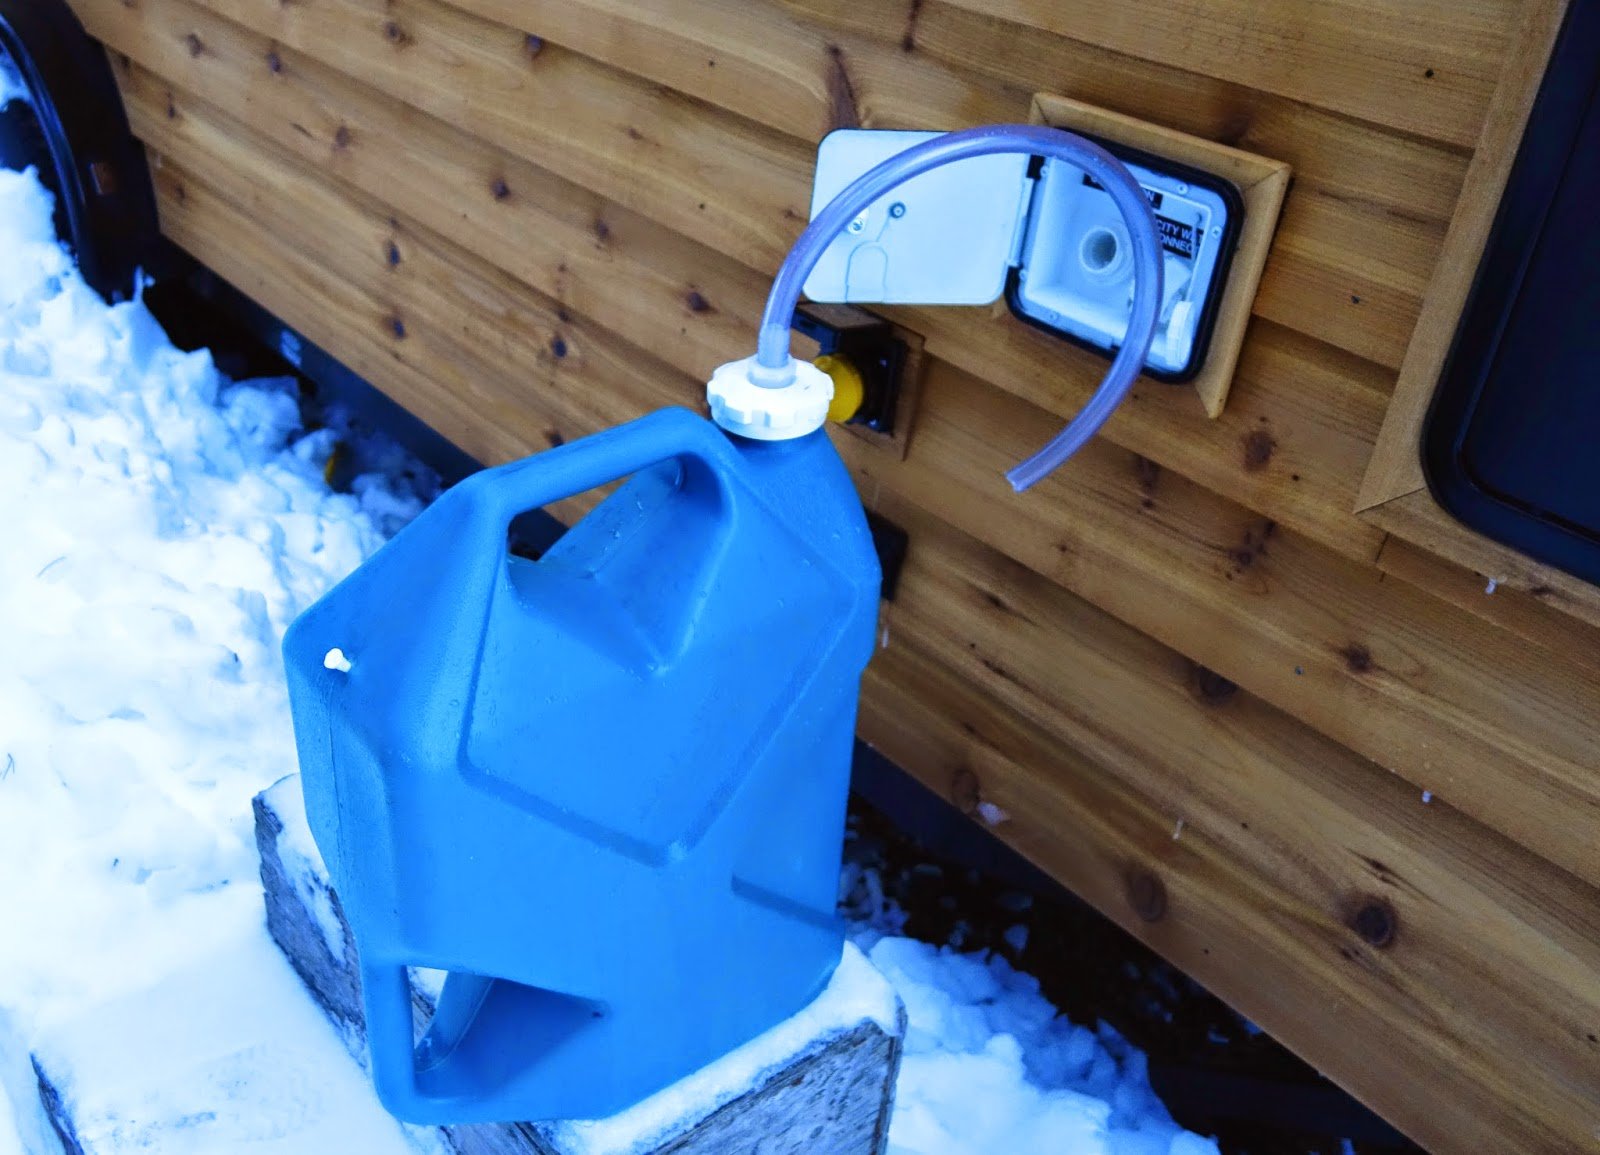
Fy Nyth‘s water jug & hose system. She transports water in from a nearby well.
If you do not have access to a fresh water spigot, you’ll need bring water to your Tiny House RV from an external source using a few water jugs. You will then physically pour fresh water through the water inlet into your tank.
The main advantage to filling your fresh water tank is that you save money, electricity and you can be off-grid. The disadvantage is that it requires you to physically fill the tank (which can be a chore in cold weather).
Option 2: Heat/Insulate Your Fresh Water Hookup
If you are parked in an area where city water is available, you can bypass your fresh water tank and directly hookup to a water spigot. This means your fresh water hose will be constantly exposed to cold weather elements, so you’ll need to protect it (and the spigot) from freezing.
Brittany Yunker uses a heated hose & insulated spigot for fresh water during the winter months
Purchase a heated drinking water hose. This hose will require constant electricity and will replace your normal potable water hose. Next, it’s a good idea to insulate your spigot by wrapping it with foam insulation. You can also wrap your heated hose around your spigot to ensure it doesn’t freeze.
The main advantage to heating and insulating your fresh water hookup is that you won’t ever need to fill your tank or use your water pump (pressure will come from the city water). The disadvantage is that a heated hose can be expensive, will require electricity, and you will have to store/transport it during the warmer months.


